Sunday, September 11, 2011

who's in?

shrimp


something


tonight.

________________________________________________________________________


Shrimp Cioppino with Rustic Vegetables & Grilled Ciabatta

Ingredients:
  • 4 tablespoons olive oil (extra virgin, cold-pressed, imported)
  • 1 onion, chopped
  • 1 shallot chopped
  • 2 teaspoons sea salt
  • 8 large garlic cloves, finely chopped
  • 3/4 teaspoon dried crushed red pepper flakes, & more if you like a lot of flavor
  • 2 tomatoes, chopped
  • 1 bell pepper, chopped
  • 1 zucchini, diced finely
  • 3 green onions, chopped
  • 1/2 cup broccoli
  • 2 leaves of chard, chopped finely
  • 1 bushel of basil for added flavor & final decoration
  • 1 1/2 cups dry white wine
  • 1 loaf of freshly baked rustic ciabatta bread, cut into 1-inch chunks
  • 1/2 cup of fresh Van Buren pesto to drizzle on the bread while grilling
  • 1 pound uncooked large shrimp, peeled and deveined
  • Optional: 1 1/2 pounds assorted fish fillets, such as halibut or salmon, cut into 2-inch chunks

Directions:

Heat the oil in a very large pot over medium heat. Add the onion, shallots and salt and saute until the onion is translucent, about 10 minutes. Add the chopped garlic and 3/4 teaspoon of red pepper flakes, and saute 2 minutes. Stir in the rest of the vegetables and the wine.  Cover and bring to a simmer. Reduce the heat to medium-low. Cover and simmer until the flavors blend, about 20 minutes. In the meantime, grill the ciabatta bread on the barbeque for about 4 minutes, turning often so as to avoid burnt edges. Drizzle pesto on top of bread while grilling. Once the vegetables are done simmering, add the shrimp. Simmer gently until the shrimp are just cooked through. You may add extra seasoning to the soup with more red pepper flakes or sea salt. Before serving, place grilled ciabatta on the bottom of your serving dish and pour the cioppino mixture on top. Add basil to the top of that and you're done!


 Buon Appetito!


I'll cook. You bring the wine. Let's make this happen.


Wednesday, September 7, 2011

When to buy Organic


I know many of you might be rolling your eyes at me. You know I try to eat organically, and are probably sick of me trying to tell you on how important it is.  Well, to be completely honest, it is.


What is organic food? Food that is grown without the use of pesticides or chemical fertilizers. OK, but what's the big deal? Why eat organic food? I believe that the most important reason to eat organically is to keep your body healthy. Conventionally grown produce (non-organic) has pesticide residue, which if consumed enough may cause future health problems (especially for pregnant women and their babies). In addition, by supporting the organic movement, farm workers and farm neighbors are not exposed to harmful chemicals. It also means that less fossil fuel is being converted into fertilizers = healthier soil for the crops.


A major reason people tend to buy conventionally grown produce instead of organically grown is the price difference. Yes, it is true that buying organic food is more expensive. However, before you decide that "it just isn't worth it," look at the health risks that you are taking. Significant research & evidence has shown that individuals that buy organic produce reduce their exposure to pesticides & chemicals by 80%.

There has also been research to decipher which fruits & veggies have the highest pesticide residues left on them. The Environmental Working Group's annual list of these fruits & veggies is called the "Dirty Dozen." In essence, if you're on the fence about buying organically, make sure to at least buy these organically:
 

The Dirty Dozen for 2011

Apples, Celery Strawberries, Peaches, Spinach, Nectarines-imported, Grapes-imported, Sweet bell pepper, Potatoes, Blueberries-domestic, Lettuce, Kale/collard greens


After all, we all just want to live a healthy, fulfilled life with our family, right? 


Tuesday, September 6, 2011

Green > Red

Peppers, peppers..peppers.

 
I've been putting off the post about Peppers for quite some time.  I haven't made up my mind about bell peppers. I know they have raving reviews from health experts, etc. - I'm just not in love...yet.

Every time I eat a bell pepper, it is usually all mushy and makes my stomach feel bloated in about 6.5 minutes.  I don't know if it's just the fact that people tend to overcook them, or if they just don't suit my veggie palette.


Peppers -or if you feel so inclined to call them, Capsicums (you're welcome Simon Bentley), are very nutritious. The Capsicum "umbrella" of peppers includes many varieties, namely hot chili peppers and sweet bell peppers (red, yellow, green and purple). Bell peppers are members of the nightshade family, which includes potatoes, tomatoes and eggplant. Interestingly enough, green bell peppers are the same variety as red bell peppers, except that the green ones are less ripe & nutritious. They contain twice as much vitamin C and 11 times more beta-carotene.

All peppers are a rich source of vitamin C, beta-carotene and B vitamins. Many peppers also contain inflammation-reducing phytochemicals & flavonoids. Furthermore, medical studies have recently shown that capsaicin (a key ingredient in peppers) has many other potential health benefits, like preventing skin cancer and prostate cancer growth.  Sounds like a sweet deal to me.

Many of you may be wondering why some peppers are hotter and/or sweeter than others. The spicy peppers have groups of phytochemicals called capsaicinoids, which creates the pain caused by heat in your mouth. 

Capsaicin is the primary capsaicinoid and can be distributed in varying degrees throughout the vegetable. Bell peppers have virtually no capsaicin, while habanero varieties have quite a substantial amount. The larger the pepper, the more mild they tend to be because they contain fewer seeds and white membrane (spicy part) in proportion to their size.


Tips for preparing & eating Peppers:

1.  A trick my mom just taught me while barbequing bell peppers is to remove the skins before eating them. This is the healthier option since you will not be consuming the blackened parts which may contain cancer-causing substances known as carcinogens. After grilling the peppers, place peppers in a paper bag and close tightly for 15 minutes. This allows them to steam, so that removing their skins will be quite easy.  Try it!

2.  Add chopped up jalapeno or serrano peppers to your favorite salsa. This will spice it up! A great salsa combination with these peppers is chopped tomatoes, onions, garlic, green peppers, grilled corn and tomatillos.

3.  Add a dash of cayenne pepper to any dish. Cayenne pepper has shown to have many health benefits and keeps your metabolism buzzing.

4. Buy organically grown peppers, as their skin is very permeable and sensitive to pesticides. Bell peppers are a member of the "dirty dozen," which is something everyone needs to become more aware of. Please click here for more information.

A personal favorite:

Insalata Ottimista

I make this dish occasionally. It's simply, delicious and worth talking about. Check it out:

1 organic bell pepper
2 handfuls of organic arugula (or more if you love arugula, like me)
1 pinch of red chili flakes
2 pinches of sea salt
1/4 cup of shaved imported Parmigiano Reggiano
2 drizzles of garlic infused EVOO
1 drizzle of 25 year old aged Balsamic Vinegar from Il Fustino in Santa Barbara (best thing in the world).

Chop the bell pepper up in to strips and lay down as the bed of the salad. Drizzle a little EVOO and add the arugula on top. The salt, chili flakes and vinegar go directly on top of that. And the pièce de résistance, the cheese.


Fore more nutritional information on peppers, check out Whole Foods.


Saturday, September 3, 2011

GM: Juxtaposed Goodness

A little over 6 months ago, I was in San Francisco for a job interview. I had recently landed in LAX the night before after a 16 hour flight from Melbourne, Australia. Needless to say, I was exhausted.  After having traveled continuously for 25 hours straight, I was glad to get my interview over and done with. 

Later that night, Nico took me out to dinner. All I wanted was really, really good Mexican food -I had been without it in Australia for over a month, ugh.  He said that he knew of a good place in town, so we hopped on the Vespa with our tummies rumbling.

Gracias Madre: the Mexican restaurant.


When we walked in, I noticed communal wooden tables and a cozy atmosphere. We were seated at a private bar station and handed paper menus. A musician was playing a Mexican Mariachi song to a table not far from us. This alone kept me awake. Scanning the dishes with sleepy eyes, I noticed that everything looked good. "Is this place vegetarian?" I asked Nico excitedly. "No, I'm pretty sure it's vegan."

The combination of my excitement and exhaustion caused me to order a lot of food. I decided to try the Platillo de Legumbres plate, with sauteed sweet potatoes and kale, accompanied with home-made corn tortillas, pureed black beans and brown rice. Everything was well seasoned, fresh and..

D-E-L-I-C-I-O-U-S.


This was an excellent way to be introduced to the city that I would soon be moving to. And since my introduction to Gracias Madre, I've endeavored to introduce it to all of my friends & family when they are in town. They pretty much know me as the GM freak. Yeah, I'm OK with that though.


It's safe to say that I eat here about twice a week, and it's just as delicious every time.


Bobby even likes it too!

"Perhaps one of the most innovative and delicious restaurants I've ever experienced."


Tuesday, August 16, 2011

The salad bar garnish.

Kale. Le Superfood.
Brassica oleracea L. var. acephala

 
A delicious and extremely nutritious vegetable. Kale is a member of the headless cabbage family. Other members of this family include brussel sprouts, broccoli and cauliflower. It also belongs to a specialty group that includes collards.

 Kale is thought to have originated in Asia Minor and brought to Europe about 2,500 years ago. It made its way to the United States when English settlers immigrated in the late nineteenth century. Good work ancestors!


There are many different types of kale to choose from. Personally, my favorite variety is Tuscan (Lacinato) kale. Others include Curly or Scots kale; leaf and spear; rape kale; and cavolo kale. They all come in different shapes, sizes and color.

Why should we eat kale? Many, many reasons. Kale is one of the most nutrient-dense foods that you can add to your diet. It contains high amounts of vitamin A, vitamin C and potassium. It also is an excellent source of calcium, iron and folate. Furthermore, kale's phytochemical components have proven to enhance eyesight and lower your risk of lung cancer, esophageal cancer, mouth and pharynx cancers and bladder cancer. That's pretty great news if you ask me.


If you have never tried kale before, I highly recommend trying it soon. You might surprise yourself with how much you'll like it. For you newbies (or experienced kale eaters), here are a few tips to keep in mind:

Selection & Storage:
1. When purchasing kale, make sure it is organically grown, or grown with no pesticides. Look to make sure the kale leaves are deeply colored with tenderness for optimum flavor. Avoid wilted leaves and tiny holes, which may be an indicator of insect damage.
2. When storing kale in your fridge, make sure to keep it in the crisper. Place a damp paper towel in the bag to keep moisture in the leaves. Always cook within a few days of purchasing your kale.

Preparation & Serving Suggestions:
1. When you're ready to prepare your kale, you may want to remove the center vein in the leaves and stems, as these tend to make the leaves much chewier.
2. If you plan on eating your kale raw in a salad, wait to chop the kale until you are ready to eat it. This preserves the vitamin C content.
3. Other ways of preparing kale is to steam, saute, simmer, bake or blanch it. Cooking kale takes on average about 10 minutes, depending on the method.
4. If possible, eat kale in conjunction with foods that are also rich in vitamin C (citrus fruits, vinegar, peppers, and dried fruit) to increase the absorption of iron.
5. A simple and extremely flavorful way of cooking kale is to saute it with lemon juice, a little olive oil and a sprinkle of chili flakes.

mmmmmMMmmMmmmm. Try it- I dare you.

This post is dedicated to my dear twin, Tara Fuller, who appreciates, loves and sings about this glorious vegetable.


Wednesday, August 10, 2011

the provincial star

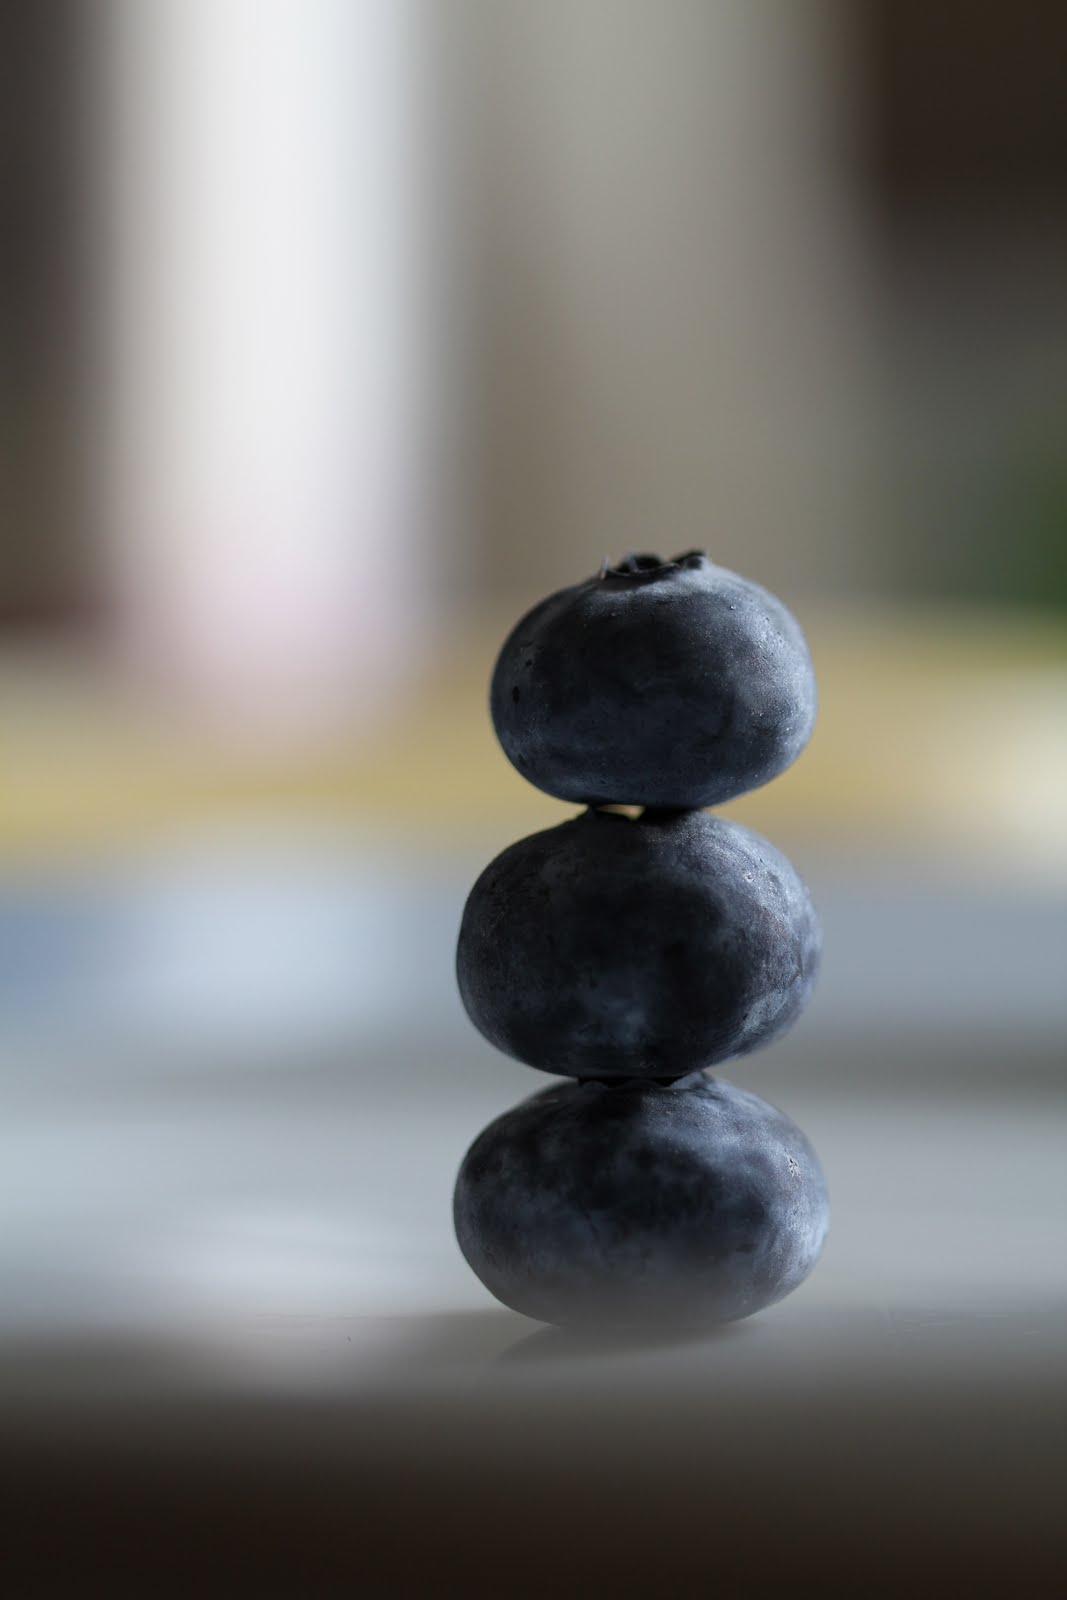
the Blueberry
Vaccinium corymbosum


Blueberries are native to North American and eastern Asia. There are two major varieties available in the US: lowbush and highbush. Wild blueberries are one of the three native berries of North America; the others being cranberries and Concord grapes.

As we all know, blueberries are very good for you. The smaller wild blueberries contain less water and therefore tend to be more nutrient-dense. Fresh blueberries have an Oxygen Radical Absorption Capacity (ORAC) value of 2400 per 100 grams. They are also rich in phytochemicals, including phenolic acid, anthocyanins (the blue pigment), and ellagic acid (a natural compound that has shown signs of inhibiting tumor growth). Furthermore, frozen blueberries also contain high amounts of anthocyanins.  However, dried forms show a less amount of vitamins and phytochemicals.

Recent studies have also shown other benefits of consuming blueberries.  Some of these include improved balance, coordination, and memory (even in Alzeimer's disease). In addition to this, blueberries contain compounds that prevent the bacteria responsible for urinary tract infections from attaching the bladder wall. Basically, blueberries are awesome.

Nutritious & Delicious.


A Blueberry Muffin:

Ingredients

  • 1 1/2 cups whole wheat flour (although I'd recommend substituting a gluten-free flour, such as quinoa or buckwheat flour).
  • 3/4 cup white sugar (or substitute a little stevia for less sugar)
  • 1/4 cup oat bran
  • 1/4 cup quick cooking oats (gluten free)
  • 1/4 cup wheat germ
  • 1 teaspoon baking powder
  • 1 teaspoon baking soda
  • 1/4 teaspoon salt
  • 1 1/2 cup blueberries
  • 1 cup chopped walnuts
  • 1 banana, mashed
  • 1 cup almond or coconut milk
  • 1 egg
  • 2 teaspoons a vanilla extract
  • 1 teaspoon of almond extract

Directions

  1. Preheat the oven to 350 degrees F (175 degrees C). Grease a 12 cup muffin pan, or line with paper muffin cups.
  2. In a large bowl, stir together the flour, sugar, oat bran, quick-cooking oats, wheat germ, baking powder, baking soda and salt. Gently stir in the blueberries and walnuts. In a separate bowl, mix together the mashed banana, almond milk, egg, oil, and extracts. Pour the wet ingredients into the dry, and mix just until blended. Spoon into muffin cups, filling all the way to the top.
  3. Bake for 15 to 18 minutes in the preheated oven, or until the tops of the muffins spring back when lightly touched.


    Tuesday, August 9, 2011

    Mussels with Mama


    Having been in Santa Barbara for the weekend, I was spoiled by my mom's culinary expertise. She likes to cook, I like to eat- it works out well.


    Since our latest trip to New York, the two of us have been craving clams & mussels like crazy. You can imagine our excitement when we found an astronomic amount of mussels for a very inexpensive price.  A feast it would be.

    ..And Bobby doesn't like shellfish. Perfect. 
    More for us.

    This is the recipe that we attempted to follow, with a few added twists:

    Ingredients:
    • 4 pounds mussels
    • 3 tablespoons extra virgin olive oil
    • 3/4 cup dry white wine
    • 4 garlic cloves, chopped
    • 1 shallot, minced
    • 2 lemons, juiced
    • 2 pinches of red pepper flakes
    • 1 tsp. sea salt
    • Dash of Tabasco sauce
    • 1/2 cup roughly chopped parsley

    Directions:

    Rinse the mussels under cold running water. Discard any with broken shells. Heat olive oil in a 6 to 8-quart stockpot. Saute the shallot and garlic to create a strong base flavor. Add the mussels and give them a good toss. Add wine, lemon juice, and red pepper flakes; cover the pot and steam over medium-high for 5 minutes until the mussels open. Toss in the parsley and steam for another minute to soften. Make sure to remove each mussel once it has begun to open at least a third of the way.


    Wednesday, August 3, 2011

    Mr. Goodwin, etc.

    There are many, many great things about Matt Goodwin. Just look at his last name.


    Moving to San Francisco a few months ago, I was looking forward to getting to know this kid that I'd soon be living with. I had heard many rumors of his excellence, notably his passion for FOOD. Knowing this,  we were most-likely (definitely) going to get along.

    Yesterday afternoon, Matt shows up at the house, bike in one hand, and something colorful in the other. Having just left his community garden plot a few blocks away, Matt had just pulled up some beautiful beets. 


    I still have yet to try these B-E-E-T-S...I think I'll head to the fridge, now.


    Monday, August 1, 2011

    bon appetit for dinner

    Tomato & Cheddar Tart


    I was at my parent's house this past weekend. That means many things, most importantly: an available kitchen stocked with every cooking ingredient, utensil, spice and spatula color imaginable. 

    On the kitchen counter, there were about 1,342 tomatoes. All shapes, varities and sizes. They were perfect, but not going to last many more days. Something had to be done.

    Sharon (yes-chef Sharon) & Jasmine was coming to stay with us for a night, so I anticipated doing something with the tomatoes in honor of their arrival. When I heard the back door open, Sharon bounded into the kitchen with a handful of what look like the most beautiful heirloom tomatoes. They were from Chino Farms. Well, no wonder.

    So, that was it. I had to do something, and it had to be quick. My mom had her copy of bon appetit lying around on the kitchen table. Flipping through the pages, I found a lot of delicious recipes. With my busy schedule and lack of an attention span, most of these recipes looked like a project I was not ready to tackle. BUT, I soon found what they termed a "Tomato and Cheddar Pie." Sounded awfully rich, but this would do.

    Didn't matter. It was D-E-L-I-C-I-O-U-S.

    Not to mention, Alice Waters would have been proud.


    Ingredients

    Crust

    • 2 cups quinoa flour
    • 1 1/2 teaspoons baking powder
    • 1/2 teaspoon baking soda
    • 1/2 teaspoon kosher salt
    • 6 tablespoons (3/4 stick) chilled unsalted butter, cut into 1/2" cubes
    • 1 cup low-fat buttermilk

    Filling

    • 2 pounds large ripe organic tomatoes, cored and cut into 1/4" slices
    • 2 1/2 cups coarsely grated extra-sharp cheddar (8-9 ounces)
    • 1/4 cup finely grated Parmesan (1/2 ounce)
    • 1 scallion, trimmed, chopped
    • 3 chives, chopped 
    • 1/2 cup mayonnaise
    • 2 tablespoons chopped fresh dill
    • 1 tablespoon red wine or apple cider vinegar
    • 2 teaspoons sugar
    • 3/4 teaspoon kosher salt
    • 1 teaspoon freshly ground black pepper
    • 1 1/2 tablespoons cornmeal
    • Use a 9"-diameter glass or ceramic pie dish

    Preparation

    Crust

    • Whisk first 4 ingredients in a medium bowl. Using your fingertips, rub in butter until coarse meal forms and some small lumps remain. Stir in buttermilk and knead gently with your hands until dough forms. Wrap dough in plastic and chill for 1 hour.

    Filling

    • Lay tomatoes in a single layer on a baking sheet lined with 2 layers of paper towels. Place another 2 layers of paper towels on top of tomatoes. Let stand for 30 minutes to drain.
    • Preheat oven to 425°. Roll out dough between 2 sheets of plastic wrap to an 11" round. Remove top layer of plastic wrap. Invert dough onto pie dish. Carefully peel off plastic wrap.
    • Toss both cheeses in a medium bowl until evenly incorporated. Reserve 1/4 cup of cheese mixture. Whisk scallion, mayonnaise, dill, vinegar, sugar, salt, and pepper in a small bowl.
    • Sprinkle cornmeal evenly over bottom of crust, then top with 1/2 cup cheese mixture. Arrange 1/3 of tomatoes over cheese, overlapping as needed. Spread half of mayonnaise mixture (about 1/3 cup) over. Repeat layering with 1 cup of cheese mixture, 1/2 of remaining tomato slices, and remaining mayonnaise mixture. Sprinkle remaining 1 cup cheese mixture over, then remaining tomato slices. Sprinkle with reserved 1/4 cup cheese mixture. Fold overhanging crust up and over edges of tomato slices.
    • Bake pie until crust is golden and cheese is golden brown, 35-40 minutes (check crust halfway and tent with foil if it's getting too dark). Let pie cool at least 1 hour and up to 3 hours before slicing and serving.
    Read More http://www.bonappetit.com/recipes/2011/08/tomato-and-cheddar-pie#ixzz1To6xFqOa


    Friday, July 29, 2011

    Coco Coco a Go Go!

    Since I was young girl, I was under the impression that coconut (anything) was bad for you. Too much cholesterol, too much fat..just too much of a good thing.  Within the past year, I learned that notion was wrong. Coconuts are actually quite good for you. Delicious & Nutritious.


    After yoga yesterday, our instructor invited us to join him for some home-made coconut milk, almond milk and chilled coffee. Yeah, he didn't have to tell me twice.

    I had heard of making your own coconut and almond milk before, but had never tried it. Tasting his home-made coconut milk had my head spinning. It was one of the best things I had ever tasted, no joke.

    I drove straight to the store and bought two coconuts, a young one and a ...regular one. I only needed to crack them open, extract the water & meat, and blend it all together! This was going to be a piece of cake.


    Well, kind-of. The young coconut was easy to open with a chisel and hammer.  The regular coconut was not the same story. And definitely not worth purchasing in the future. After taking my mom's suggestion of roasting the coconut for 15 minutes at 375 degrees, I tried the same chisel and hammer maneuver, unsuccessfully. Bobby then had the brilliant idea of getting out the sledge hammer. He tried that, and that worked. Worked so well half of it flew into the pool.

    And Voila! We were ready to make the coconut milk. Blend blend and I got two pints of this crazy amazing stuff. Although I think I'll stick to buying it in the store from now on.


    The Best Tacos, I've Ever Had.

    You heard me. That is correct. And they were made at the Van Buren's house this evening. You want to know what was in them? OK.

    Organic corn tortillas. Barbequed wild shrimp from the Florida Keys, basted in chipotle pepper and adobo sauce. Barbequed sweet red corn (in their husks) sprinkled with smoked paprika. Organic black beans. Sweet potato, caramelized onions,grilled garlic & habenero pepper puree. Minced cilantro. Home-made mexican crema with chipotle peppers. Home-made barbequed tomatillo salsa & mango salsa. Shredded purple cabbage & carrots. ABSOLUTE LOVE. And perhaps one of the top 5 meals of my life.

    I recommend you try them. Email me for recipes.

    Soon to be featured on Yummy Soup!


    Monday, July 25, 2011

    Summertime Feasts

    CLAMS!!


    This past week, I spent some time in upstate New York with my family. Not only was I excited to relax at the lake with my book, I was stoked to be spending the week with two amazing chefs.  One of which was my mother, of course, and the other was Sharon, one of my mom's best friends.

     Upon arriving at the lake, we endeavored to plan some delicious home-cooked meals. For one of the nights, we decided to make barbequed clams with a lemon butter sauce. I had never barbequed shellfish before, let alone thought about barbequing a live animal, so this was going to get interesting.

    I was in charge of removing the clams (gently- so as not to spill the salt water inside of them) off the grill when they began to open up their little shells. Sharon brushed the lemon butter sauce inside each shell. My mom supervised, wine in hand, whilst Jasmine looked at all of us with culinary aversion. 

    Barbequed clams were not her cup of tea.


    But they were ours!!! So much so, that we ended up making them again 2 days later
     

    ....MmmmmmMMMMmmmm

    _________________________________________________________________________

     How to Get it Done:

    Ingredients:
    30 - 40 Clams Or Mussels Or 24 Oysters, well scrubbed 4 Tbsp (1⁄2 stick) Butter 1 Tbsp Minced Garlic 1⁄4 tsp Worcestershire Sauce, or more to taste
    Freshly Squeezed Lemon Juice To Taste

    Directions:
    1. Prepare a grill; the heat should be medium-high and the rack about 4 inches from the fire. When the grill is hot, put the shellfish directly on the grill, or put them in a basket and put the basket on the grill.
    2. Melt the butter in a small saucepan on part of the grill not exposed to direct heat (a shelf works well here if your grill has one); add the garlic, Worcestershire sauce and lemon juice and let the mixture warm for a couple of minutes.
    3. As the clams open — some will take a minute or two; others will take longer — transfer them to a platter, and move the more stubborn ones to hotter parts of the fire. Try to keep the liquid in the shells of those that open, but don't worry if you lose some. When they're all cooked, drizzle the “barbecue” sauce over them and serve immediately.

    Metrics:
    Yield: 4 to 6 servings
    Prep Time: About 15 minutes

    Brought to you by YummySoup!


    Tuesday, June 28, 2011

    la vanille et à la vanille

    Some of you may be thinking, really? An abundant profusion of vanilla and...vanilla?

    That was my first reaction...


    But, if your name is Rachel Taylor and you're involved in an extremely determined Company Cup Cake Competition, Vanilla on Vanilla is the flavor of the hour.

    Last night, Rachel & I pored over her mother's baking books, Paula Deen's recipe archive and the telephone (for frequent calls to Linda of course), in order to come up with a delicious, yet distinctive cupcake recipe.

    And after much frustration, excitement and preparation, we were ready.

     Rachel sifted the flour, salt and baking powder, while I browned the butter and split the vanilla bean. We tested different amounts of pure vanilla extract, splashes of buttermilk and fused the vanilla beans.


    All in all, we were an amazing cupcake-designing team.


    and now for the cleanup..